 Programming
Setup SendGrid SMTP
One of the things that you need to send an email from your application is a SMTP provider. In this post I'll show how to setup a free SMTP using SendGrid.
1. Create your SendGrid Account
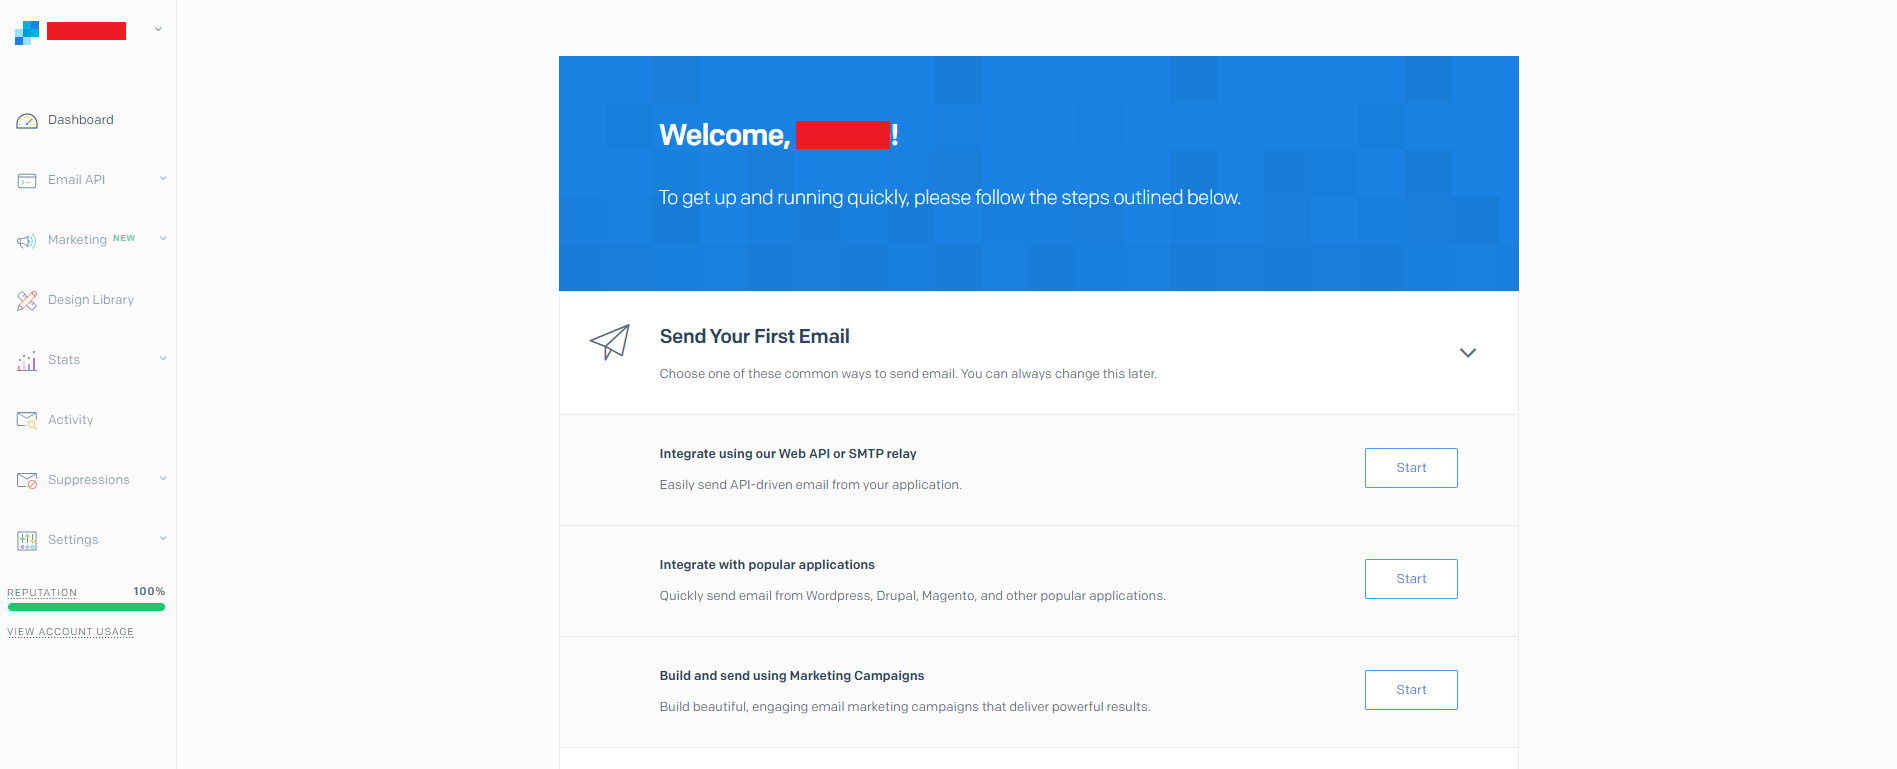
2. Start creating your SMTP Relay
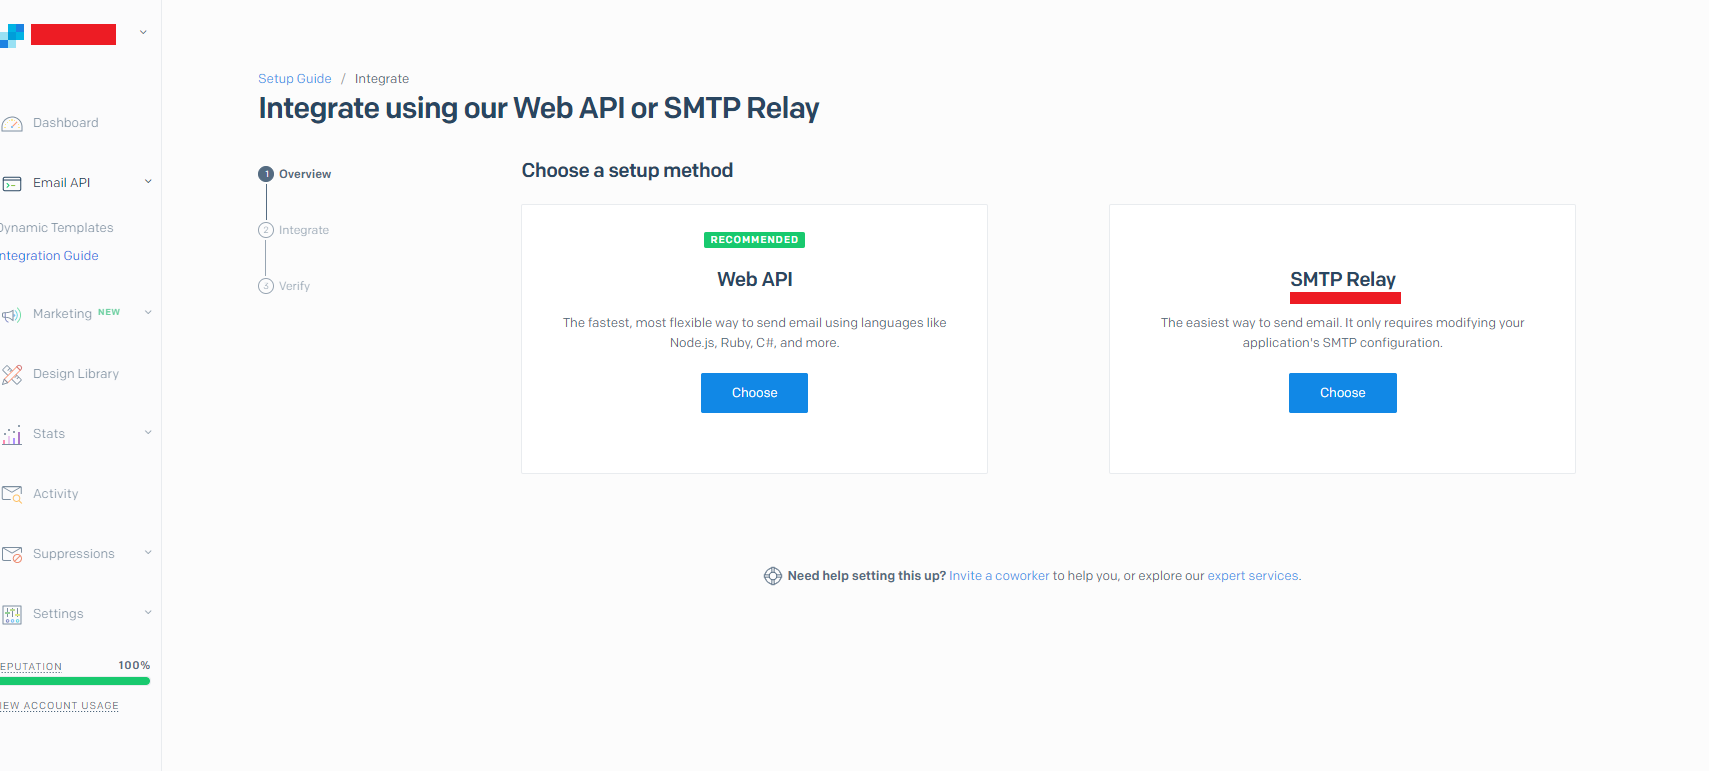
3. Name your API Key
Usually I name it with the domain I'm using.
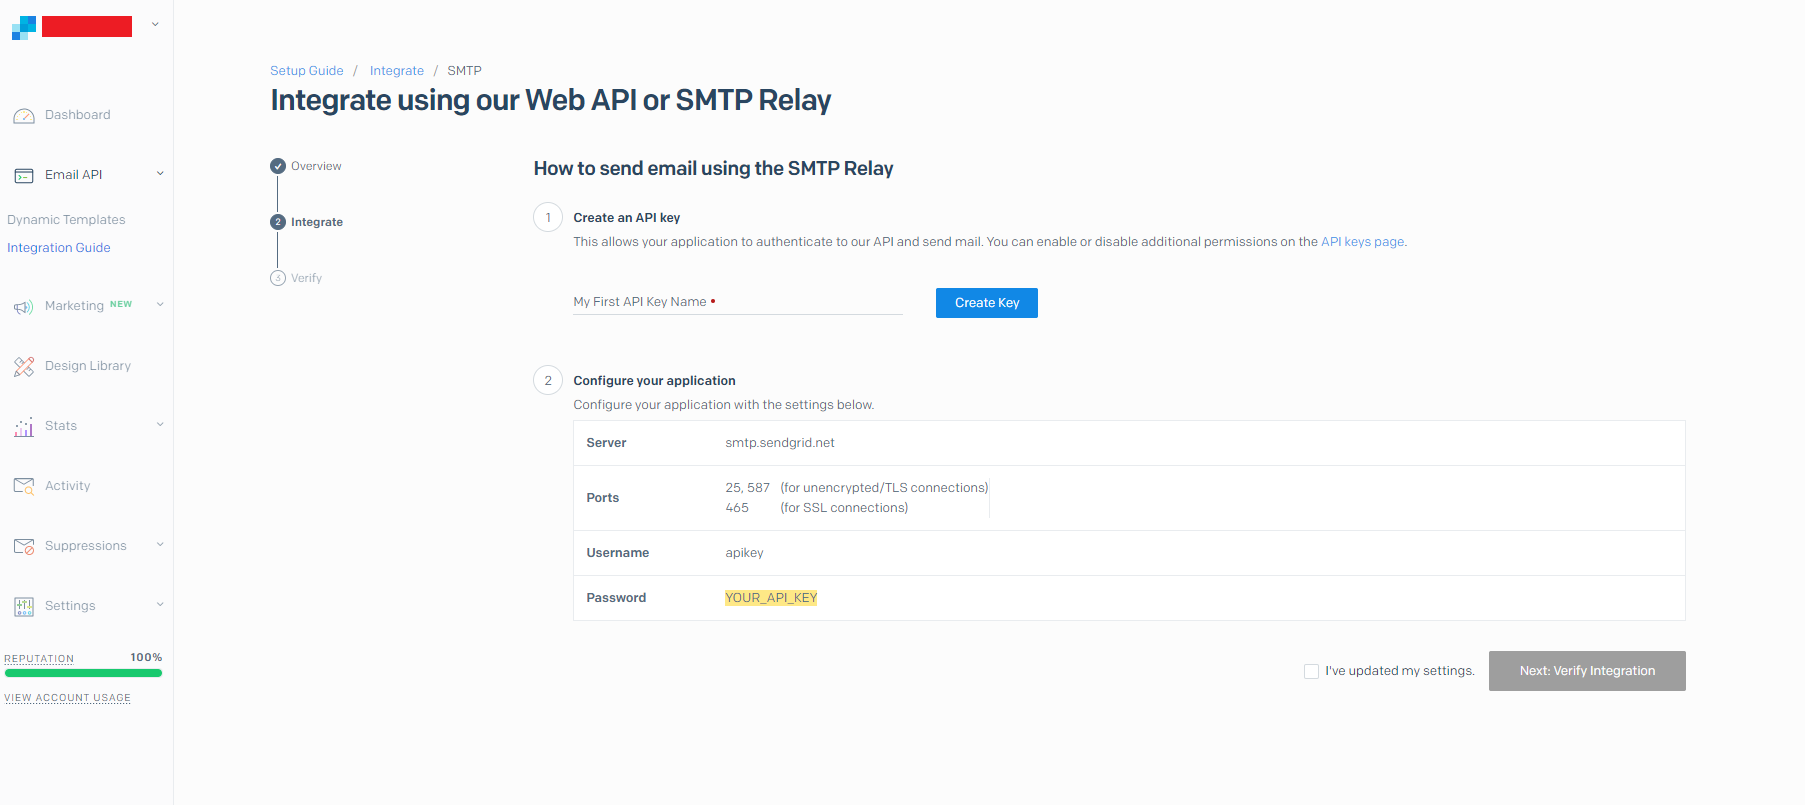
4. Verify Your Integration
In this step we will verify our domain to let SendGrid know that we are the owner of the domain. Click the Get Started button in "Authenticate Your Domain".

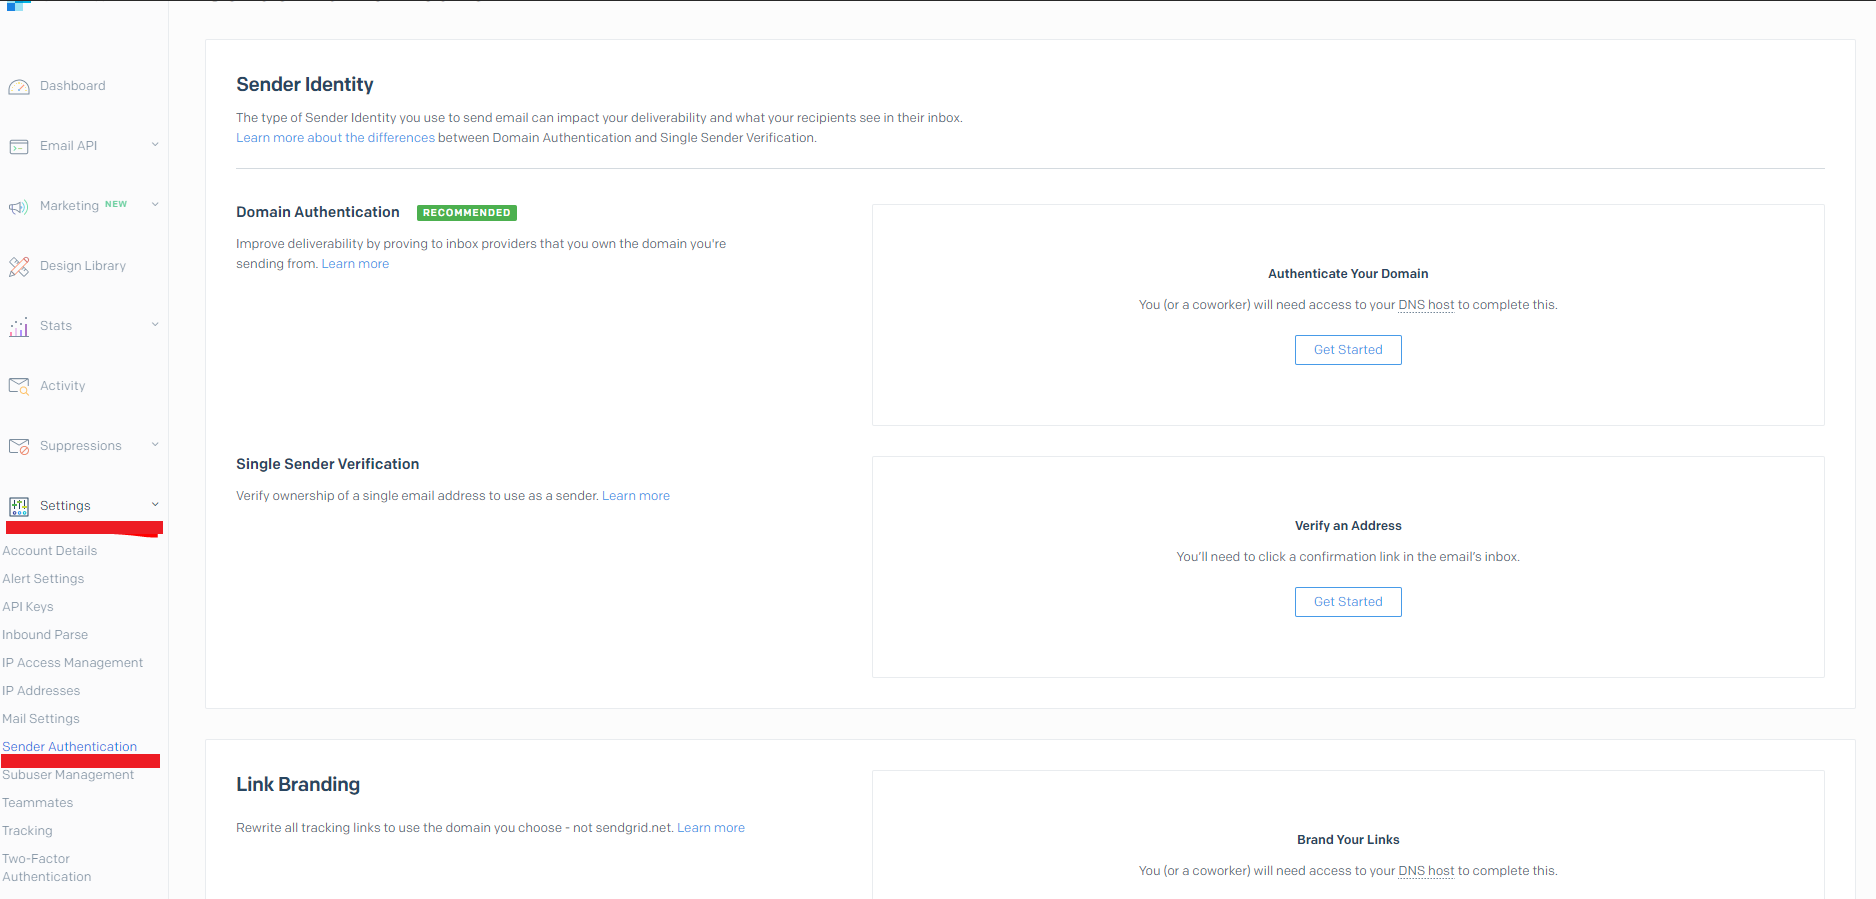
5. Select Your DNS Provider
Select your DNS provider from the list. Also, select Yes for the brand link for this domain. This will include your brand in your SendGrid address

6. Enter Your Domain
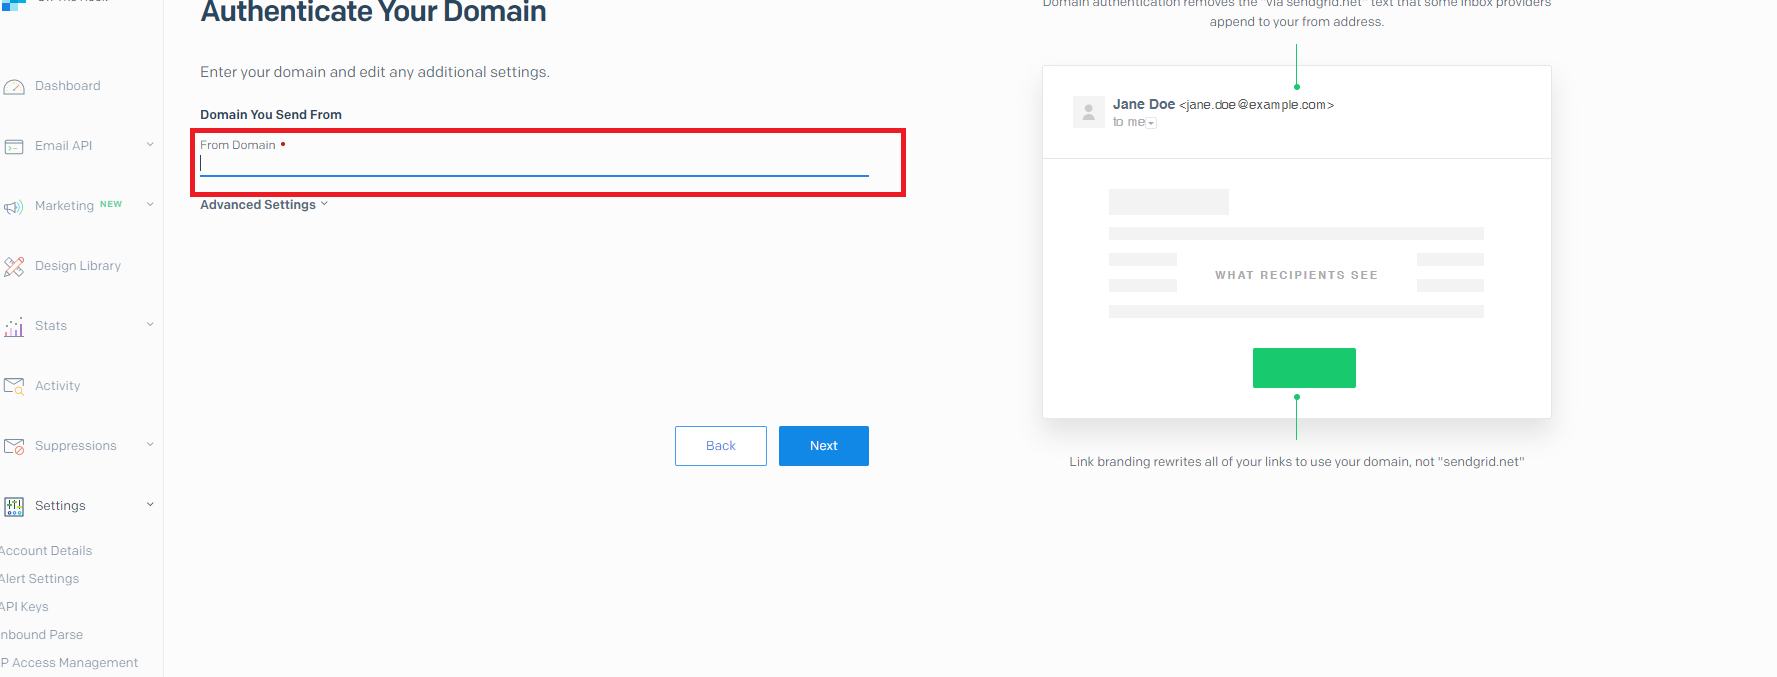
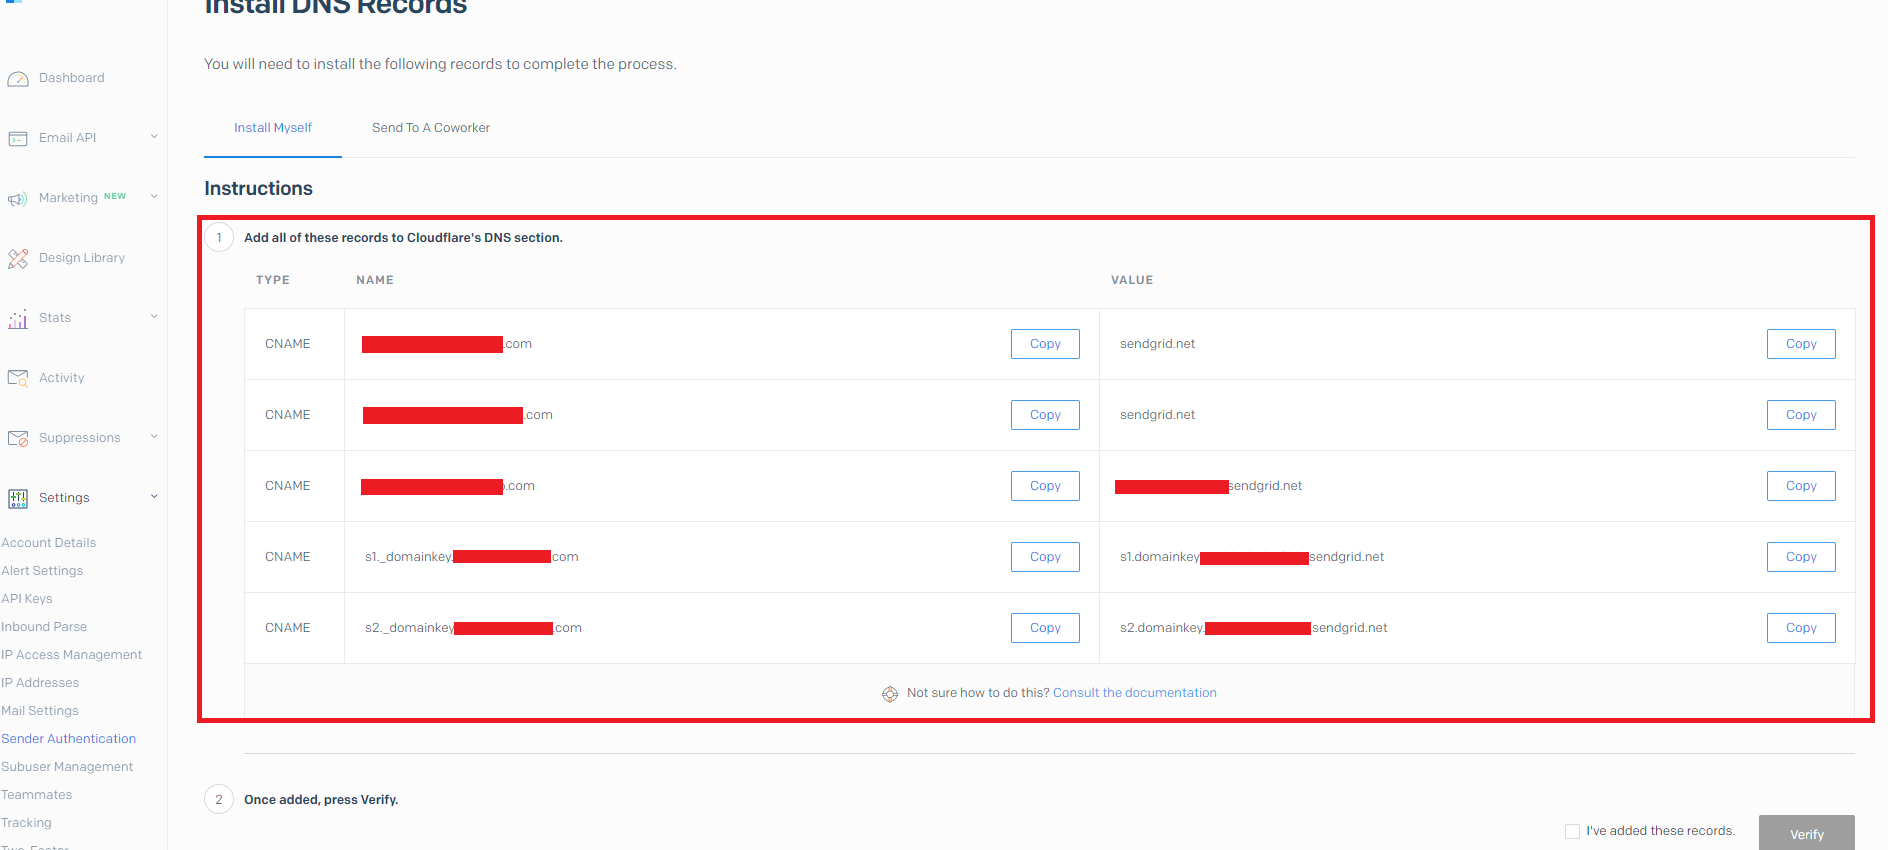
7. Add The Given Values To Your DNS Records
The values given by SendGrid needs to be added in your DNS records as part of their verification and relay settings. If you do not know where exactly that is you can forward it to your IT or ask for a technical support from your DNS provider.
8. Verify Your Domain
If all the DNS records are in place you should be able to get this message.

9. Use Your SMTP Credentials
In my case I have a C#.Net Web Application so I add my SMTP credentials to my web.config

SendGrid free account will allow you to send 100 emails per day.
Hope this helps!


