 Programming
Install SOLR as a Windows Service
If you are just starting with Sitecore and wanted to set up your own environment. Here are steps on how to install SOLR on your local machine.
Download the following:
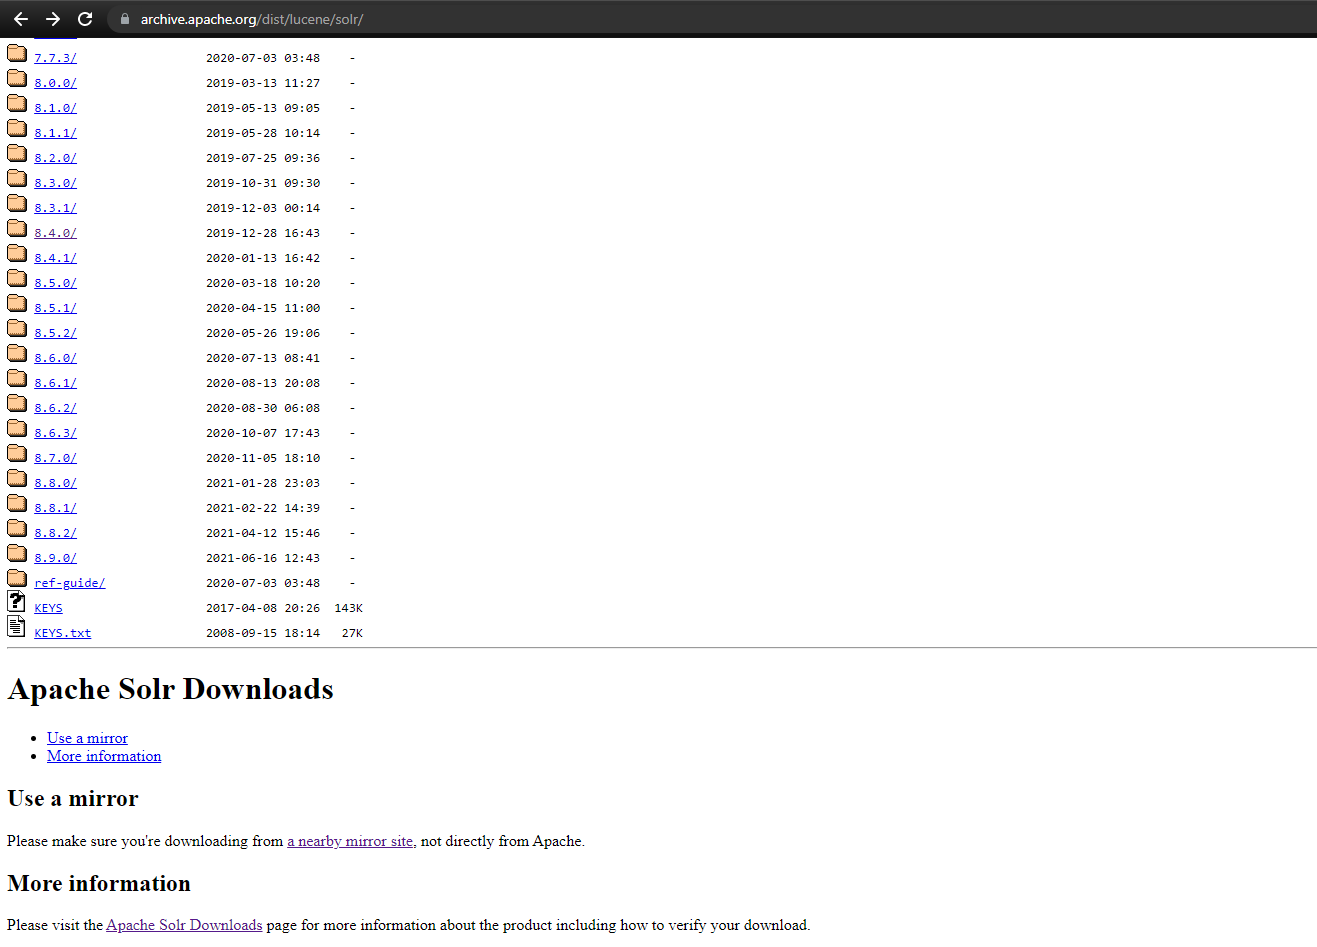
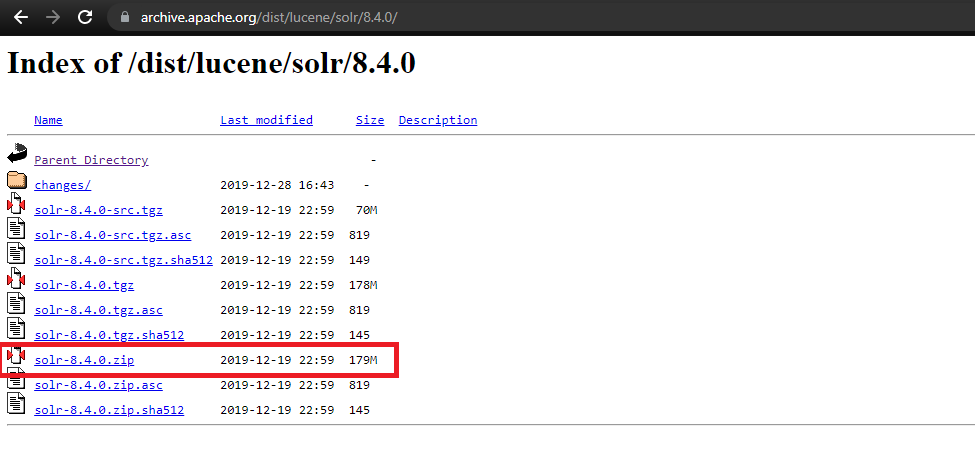
1. Download the Solr version you need from here. For windows download the file with .zip extension.
2. Download NSSM. A tool to create and add windows service.
Steps:
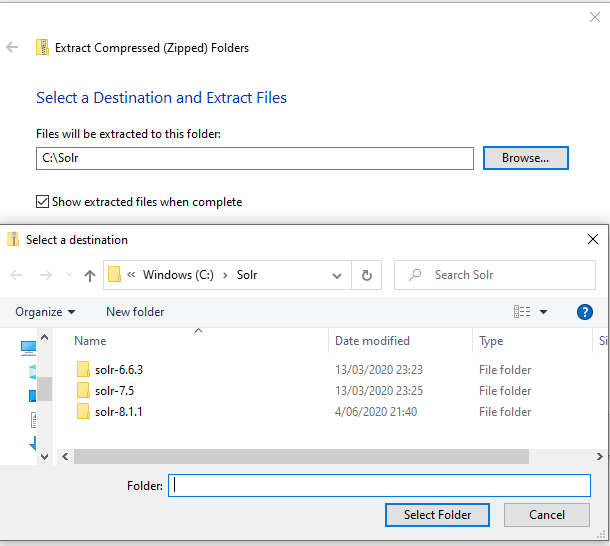
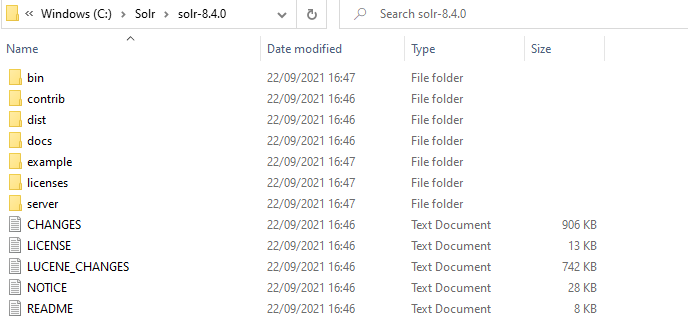
1. Extract your SOLR zip files to your preferred directory.
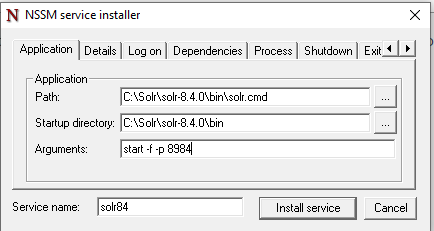
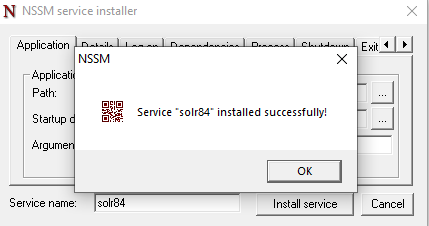
2. Install SOLR using NSSM and create a windows service. The default SOLR port is 8983, although I usually maintain different versions of SOLR in my machine. In this case, I just use the SOLR version as the last 2 digits of the port. If it's SOLR 8.4 my port will be 8984.

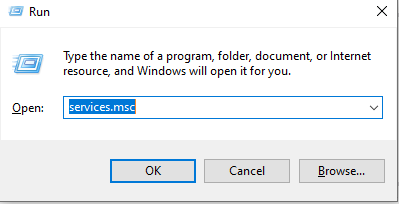
3. Go to services.msc and start your newly created windows service.

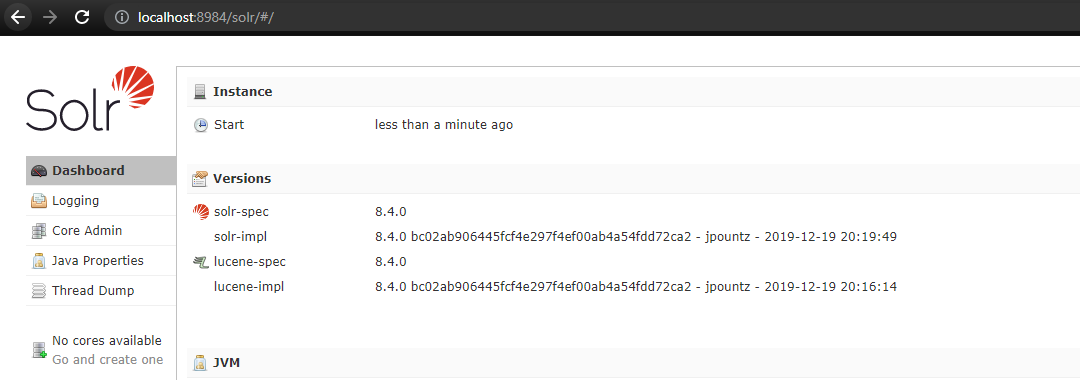
4. Now, your SOLR is ready. Open your browser and go to http://localhost:<port>/solr
References:
https://support.sitecore.com/kb?id=kb_article_view&sysparm_article=KB0227897 - You can check Sitecore Solr version compatibility here.
https://sitecore.stackexchange.com/questions/1211/how-to-get-solr-to-run-as-a-service/1212
https://sitecore-community.github.io/docs/search/solr/fast-track-solr-for-lazy-developers/


